Elite Screens R120WH1 Uživatelská příručka
Procházejte online nebo si stáhněte Uživatelská příručka pro Promítací plátna Elite Screens R120WH1. Elite Screens R150WV1 Uživatelská příručka
- Strana / 11
- Tabulka s obsahem
- KNIHY
Shrnutí obsahu
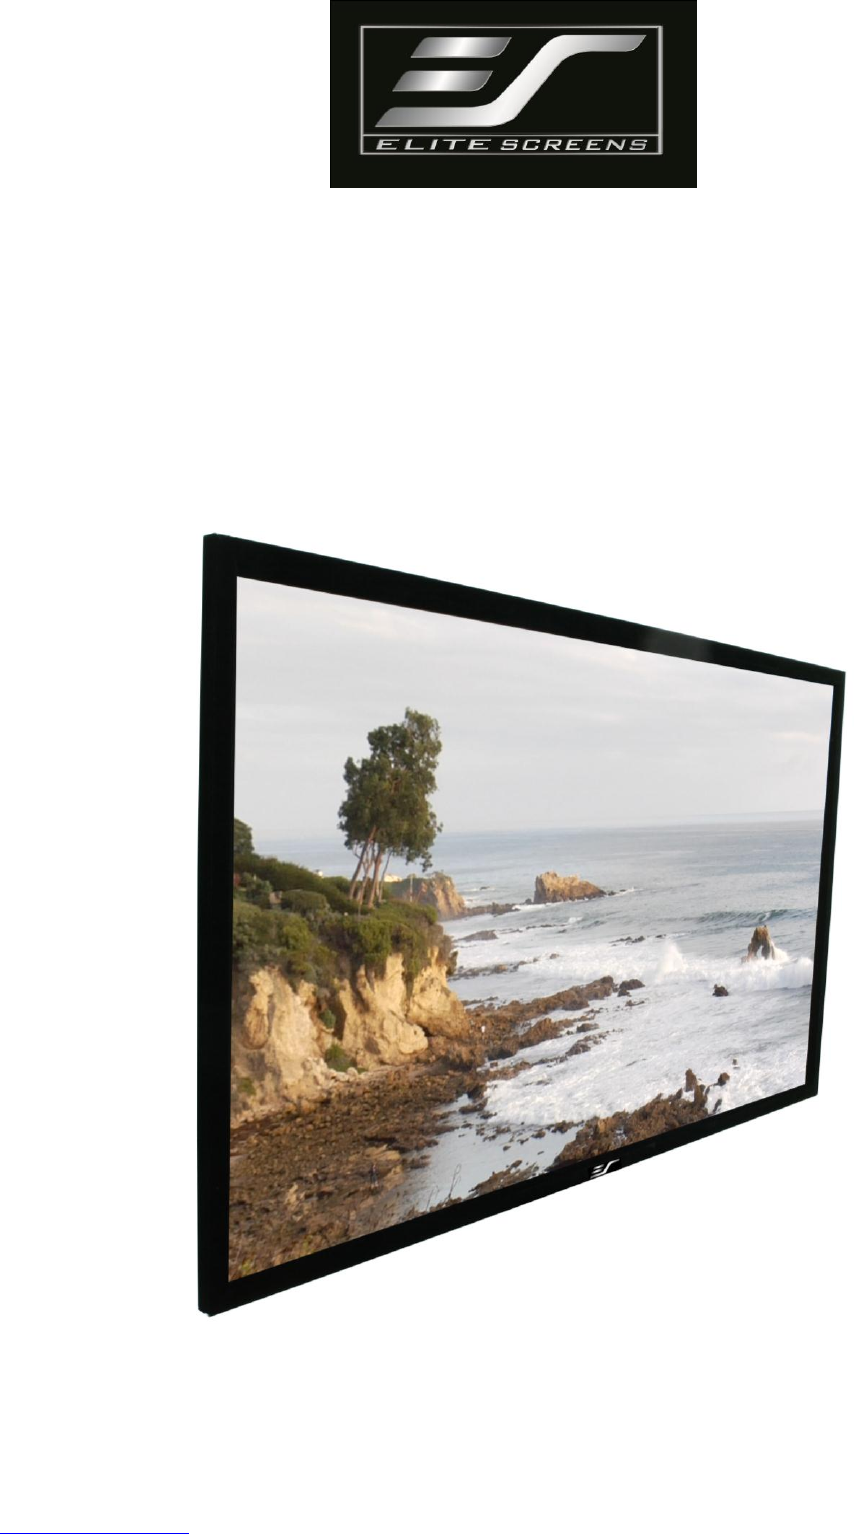
Rev. 010410-JA www.elitescreens.com [email protected] Elite ezFrame Series Fixed Frame Projection Screen User’s Guide
Warranty Policy Two (2) year warranty on parts and labor from defects in workmanship from purchase date as follows (except for refurbished unit
Register your warranty at www.elitescreens.com/register.html US & Canada Tech Support & Warranty Claim Please contact us at service@elitescre
Parts List 1. Frame Parts x 6 pcs (4 top/bottom frame pcs. + 2 side frame pcs) 2. Tension Rods x 6 pcs (4 top/bottom rods + 2 side rods) 3
Please do not tighten the screws completely, to make sure the frame piece lines up correctly. 3. Insert both elbow joint connectors int
PushPush( fig.2)Insert the exposed ends of the joint connectors into the short (vertical) frame and align the four corners so that they meet at perfec
Tension Rod (Horizontal) x 4 Tension Rod (Vertical) x 2 Tension Rod (horizontal) Push Tension Rod (Vertical) Attaching the screen material to the fra
Black backing for AcousticPro1080 models This procedure only applies to AcousticPro1080 models, disregard if your ezFrame is not an Acou
Attaching the Fix Plates___ 1. Make sure that the material and frame are both lying face down on a clean, dry and non-abrasive surface. 2.
3. Slide the top end of the bar into the top center point location to complete center support bar installation. This will provide
CAUTION Please follow these instructions carefully to ensure proper maintenance and safety with your ezFrame Screen 1. When hanging the screen up,
Další dokumenty pro Promítací plátna Elite Screens R120WH1

Související produkty a manuály pro Promítací plátna Elite Screens R120WH1
 (10 stránky)
© 2020, manymanuals.cz. Všechna práva vyhrazena. | 0.753 s |
 Manymanuals.com
 Manymanuals.de
 Manymanuals.fr
 Manymanuals.it
 Manymanuals.pl
 Manymanuals.cz
 Manymanuals.es
 Manymanuals-pt.com
Komentáře k této Příručce